Single Leg Glute Bridge: Video Tutorial & Exercise Guide

| Workout | Single Leg Glute Bridge |
| Primary Muscle Group | Glutes |
| Secondary Muscle Group | Hamstrings |
| Equipment Required | Barbell |
| Force Type | N/A |
| Mechanics | Isolation |
| Exercise Type | Strength |
| Difficulty | Intermediate |
Single Leg Glute Bridge: Video Tutorial & Exercise Guide
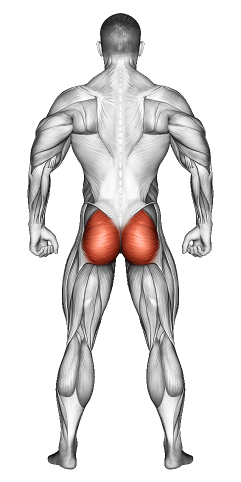
Secondary Muscles Group

Single Leg Glute Bridge: Step-by-Step Guide
- Step 1: Lie on your back with one knee bent and the other leg extended straight out in front of you. Your arms should be at your sides with palms down for stability.
- Step 2: Engage your core and squeeze your glutes, preparing to lift your hips.
- Step 3: Press through the heel of your bent leg and lift your hips off the ground, forming a straight line from your shoulders to your knee. Keep your extended leg in line with your body.
- Step 4: Hold the position for a second, squeezing your glutes at the top.
- Step 5: Slowly lower your hips back down to the starting position, keeping control of the movement.
- Step 6: Repeat for the desired number of reps, then switch legs.
Single Leg Glute Bridge: Overview
The Single Leg Glute Bridge is a bodyweight exercise that targets the glutes, hamstrings, and core. It’s an advanced variation of the traditional glute bridge, adding a balance and stability challenge by working one leg at a time. This exercise helps improve glute activation and is great for strengthening the posterior chain without needing any equipment.
Single Leg Glute Bridge: Benefits
This exercise strengthens your glutes, hamstrings, and lower back while also engaging your core to stabilize your body. By isolating one leg, the Single Leg Glute Bridge helps address muscular imbalances and improves unilateral strength. It’s also great for enhancing hip mobility and overall lower body stability, making it a fantastic addition to any workout routine.
Single Leg Glute Bridge: Pro Tips & Advanced Techniques
To get the most out of the Single Leg Glute Bridge, focus on squeezing your glutes at the top of each rep. Keep your hips level throughout the movement to avoid twisting or dropping one side. If you're ready to increase the difficulty, try adding a weight or placing your foot on an elevated surface to increase the range of motion.
Single Leg Glute Bridge: Progression Plan
Beginner
Intermediate
Advanced
Single Leg Glute Bridge: Frequently Asked Questions (FAQs)
What muscles does the Single Leg Glute Bridge target?
+This exercise mainly targets the glutes and hamstrings but also engages your core and lower back for stability.
How can I modify the Single Leg Glute Bridge if it’s too difficult?
+Start with a standard glute bridge using both legs. As you get stronger, progress to the single-leg variation when you're ready for a challenge.
Can I add weights to the Single Leg Glute Bridge?
+Yes! You can place a dumbbell or barbell across your hips to add resistance as you lift your body.
How often should I do the Single Leg Glute Bridge?
+Aim to include this exercise 2-3 times a week in your lower body or glute workouts for best results.
What common mistakes should I avoid?
+Avoid letting your hips sag or twist during the movement. Keep your core engaged and make sure both sides of your hips are level.